What are the essential tools and equipment needed for a professional-looking DIY installation of each flooring type?
July 31, 2025What common mistakes do DIYers make when installing these flooring types, and how can they be avoided?
August 20, 2025
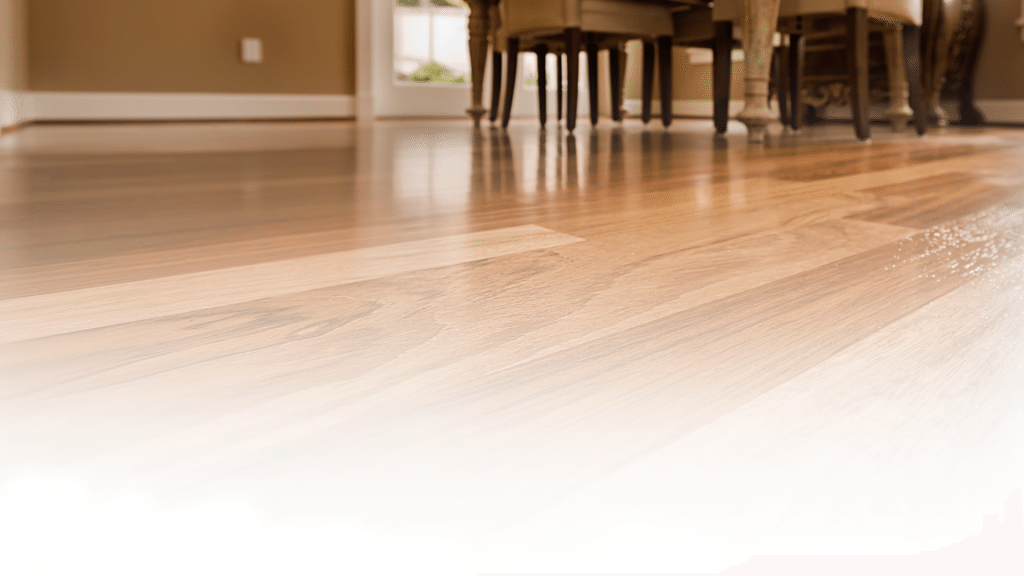
The success of your new hardwood floors hinges on the subfloor beneath them. This guide walks you through the essential steps for a proper flooring replacement on Long Island, covering assessment, cleaning, leveling, and moisture control for wood flooring, vinyl flooring, and laminate.
When you decide on a flooring replacement project, choosing the material is the exciting part. You picture beautiful new hardwood floors transforming your home. However, the most critical part of any professional installation happens before the first plank is laid. Your new wood flooring is only as good as the subfloor it rests on. Neglecting this foundation can lead to squeaks, gaps, and damage, turning your investment into a costly problem. This guide details the subfloor preparation process so your new hardwood floors, vinyl flooring, or laminate flooring will perform as expected for decades to come.


