- Have any flooring questions?
- 631-673-1050
- [email protected]

What common mistakes do DIYers make when installing these flooring types, and how can they be avoided?

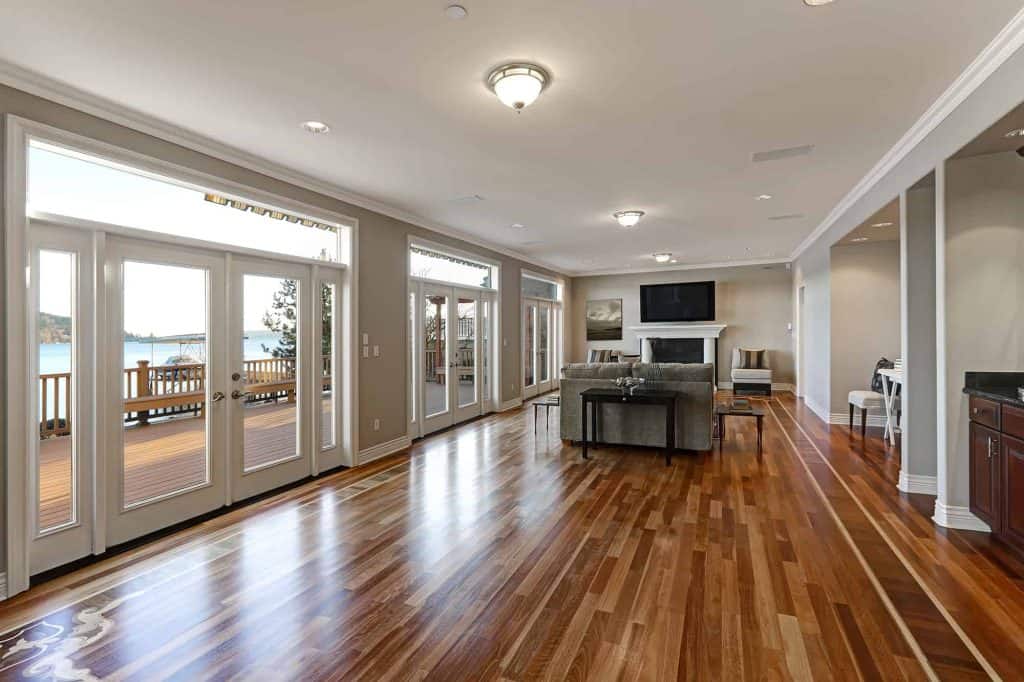
How to Prepare Your Subfloor for New Hardwood Floors
August 7, 2025
Beyond Hardwood: Other Applications for Sika T-35 in a Long Island Home
August 23, 2025What common mistakes do DIYers make when installing these flooring types, and how can they be avoided?
Summary:
Hardwood Flooring Installation Mistakes That Cost the Most
Hardwood floors are unforgiving. One wrong move and you’re looking at gaps, squeaks, or boards that buckle within months. The mistakes start before you even open the first box.
Most DIYers rush the process without recognizing that hardwood installation is really about managing wood movement. Long Island’s humidity swings from summer to winter mean your floors will expand and contract significantly. Miss this fundamental concept and you’ll be dealing with problems for years.
Skipping Acclimation in Long Island's Climate
This is the point at which most DIY hardwood projects fail from the very beginning. You bring those beautiful oak planks home and want to get started immediately. Big mistake.
Hardwood needs time to adjust to your home’s specific moisture levels. Long Island’s coastal humidity makes this even more critical than inland areas. Installing your floors in a room with significant humidity differences requires a minimum of 72 hours.
Skip this step and watch what happens over the next few months. Summer humidity hits and your boards expand, creating that dreaded buckling. Winter arrives with dry heat running constantly, and suddenly you’ve got gaps wide enough to lose change in. The wood is literally fighting against itself because it never had a chance to find its equilibrium in your space.
We know that acclimation isn’t just about time—it’s about creating the right environment. Your HVAC should be running at normal settings during this period. The subfloor moisture content needs to be within 2% of your hardwood’s moisture content. These aren’t suggestions—they’re requirements if you want floors that last.
Most DIYers don’t own a moisture meter and have never heard of these tolerances. They lack knowledge about the most crucial aspect of the entire process.
Subfloor Preparation Shortcuts That Ruin Everything
Your finished floor is only as attractive as what’s underneath it. This is where DIY projects fall apart most spectacularly, and it’s completely preventable.
Long Island homes, especially older ones, have subfloors that have seen decades of settling, minor water damage, and general wear. That 1/4 inch dip across your living room might not look like much, but it’ll create squeaks and premature wear that’ll drive you crazy. We know that anything over a 3/16 inch variation in a 10-foot span needs to be addressed before any flooring goes down.
DIYers typically grab a few shims and call it done. That’s not fixing the problem—that’s creating new ones. Proper subfloor prep means addressing the root cause. Maybe it’s a joist that’s settled. Maybe there’s moisture damage that needs remediation. The existing subfloor needs additional plywood or OSB to create the stable, flat surface hardwood demands.
Then there’s the fastening situation. Before adding finished flooring, your subfloor must be absolutely solid. Squeaky subfloors become squeaky hardwood floors, and there’s no fixing that without starting over. Every loose board needs to be re-secured with appropriate screws, not just nails that’ll work loose again.
Almost everyone struggles with the moisture barrier question. Long Island’s ground moisture and occasional basement dampness mean you can’t skip vapor barriers in many installations. But which type? Where exactly does it go? Get this wrong, and you’re dealing with cupping, warping, or worse—mold issues that affect your entire home’s air quality.
Vinyl Flooring and Laminate Installation Errors You Can't Undo
Vinyl and laminate seem foolproof compared to hardwood. The marketing makes it look like anyone can snap these together in an afternoon. Reality is different.
These floors are more forgiving than hardwood, but they have their own rules. Break them, and you’ll end up with floors that look amateurish, wear poorly, or fail completely within a few years. The mistakes here are usually about interpreting how these materials actually work.
Expansion Gap Mistakes That Show Immediately
Every floating floor needs room to move. Vinyl and laminate expand and contract with temperature changes, and Long Island’s seasonal swings make this movement significant. Yet DIYers consistently get the expansion gaps wrong.
The standard rule is a 1/4 inch gap around the entire perimeter. But here’s what the DIY guides don’t explain clearly: that gap needs to be consistent and it needs to account for your specific installation. Large rooms need larger gaps. Rooms with significant sun exposure need larger gaps. Install luxury vinyl plank in a sunroom without proper expansion planning and watch it buckle on the first hot day.
Then there’s the transition issue. DIYers often try to run floating floors through doorways and into adjacent rooms without proper transitions. The floor needs to be able to move independently in each space. Try to make it one continuous installation across multiple rooms and you’re creating stress points that will eventually fail.
The gap also needs to be properly covered. Quarter round or shoe molding isn’t just decorative—it’s functional. It needs to be attached to the wall, not the floor, so the floor can still move underneath it. Nail your trim to the floor and you’ve just created an anchor point that’ll cause problems as soon as the material tries to expand.
Most DIYers also don’t account for appliances and fixed cabinets. That refrigerator isn’t going anywhere, so your floor needs to have proper clearance around it. Kitchen islands present similar challenges. We plan these details before starting. DIYers often discover them when it’s too late to fix them easily.
Underlayment and Moisture Issues DIYers Miss
Underlayment seems like the easy part. Roll it out, tape the seams, and install your floor. But the wrong underlayment choice or improper installation creates problems that don’t show up immediately.
Long Island’s basement moisture and ground-level humidity mean moisture management is critical, even with vinyl and laminate. Many DIYers skip vapor barriers entirely or use the wrong type for their specific situation. Concrete slabs need different moisture protection than wooden subfloors. Basements need different solutions than main floors.
The thickness question trips up almost everyone. Thicker isn’t always better. Some luxury vinyl products have attached underlayment and don’t need additional padding. Add it anyway and you create an unstable surface that’ll show every footstep and wear unevenly. Other products require specific underlayment types to maintain their warranty coverage.
Seam taping looks optional but it’s not. Gaps in your underlayment create weak spots where moisture can penetrate and noise can transfer. We tape every seam and seal the perimeter. DIYers often skip this step to save time and end up with floors that perform poorly.
The direction of installation matters too. Your underlayment should run perpendicular to your flooring direction when possible. This angle provides better stability and reduces the chance of seams telegraphing through to the surface. It’s a small detail that makes a big difference in the finished result.
Temperature during installation affects everything. Install underlayment when it’s cold and your flooring when it’s warm, and you’ve created tension that’ll show up as bumps or gaps. We control these variables. DIYers often work around weather and schedules without considering how temperature affects their materials.
Making the Right Choice for Your Long Island Home
DIY flooring isn’t impossible, but it’s not the simple weekend project most people imagine. Long Island homes have specific challenges that can turn small mistakes into expensive problems.
The real question isn’t whether you can install flooring yourself—it’s whether you should. When you factor in your time, the cost of necessary tools, and the risk of needing to start over, you will often find that professional installation makes more financial sense.
If you’re weighing your options or need guidance on your specific situation, we’ve been helping Long Island homeowners make these decisions for decades. The best DIY choice is knowing when to call in the professionals.
